Need a card in under 5 min. I know I do more often than I want to admit. This is the card for you all you need is a piece of dsp and a strip of cardstock punched with the eyelet border. I added the words from the happy greetings and punched them with the scalloped oval and adhered it to the large decorative label punch. The bow was added to make it look like the card took more time than it really did and gives it that finishing touch. You can use this template for any card and change the words for any occasion. You could even turn the card for a whole different look. Got to love that!!
Monday, June 27, 2011
Wednesday, June 22, 2011
Wet embossing
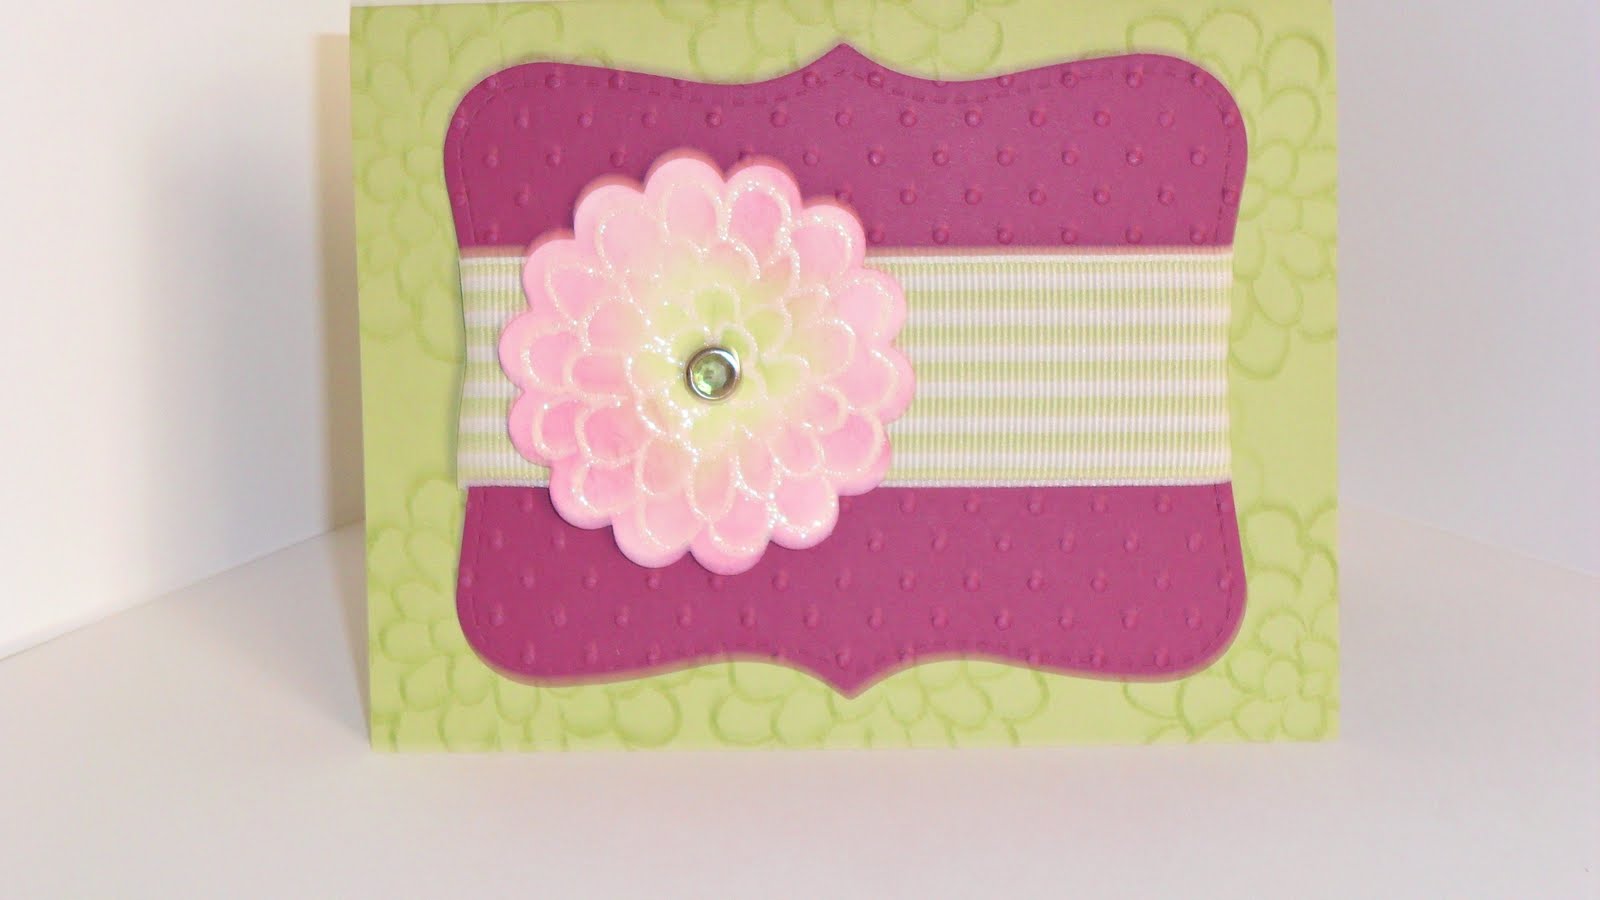
The stamp set is flower fest and I'm liking it more and more as I see what you can do with it. I especially like that the images match my punches and make it so easy to put a card or scrapbook together. Want a glittery embossed image without the glitter falling off mix a spoonful of white embossing powder and a spoonful of glitter and you to can have this look. After the image was embossed and punched out with the matching punch I added chalk with a cotton ball to give the flower 2 colors. For that added bling I added a rhinestone circle brad. To fill the card up since I only used 1 flower I stamped the background with the same image in old olive and used the top note die and the embossing folder perfect polka dots in rich razzleberry card stock. the ribbon is the Old Olive 1 1/4" grosgrain and adds that extra texture.
Tuesday, June 21, 2011
Blender pens
I had to wait to post this card since I'm giving it to a new Eagle Scout. I used blender pens on the ship to add the flags in cherry cobbler and the waves in not quite navy. To add dimension I used dimensionals to make the ship look as if it was out to sea. The stamp sets used are the open sea and matching dsp and the happy greetings. My embellishment was the baker's twine white and cherry cobbler. The inks used are early espresso, cherry cobbler and basic grey.
Saturday, June 18, 2011
Wet embossing
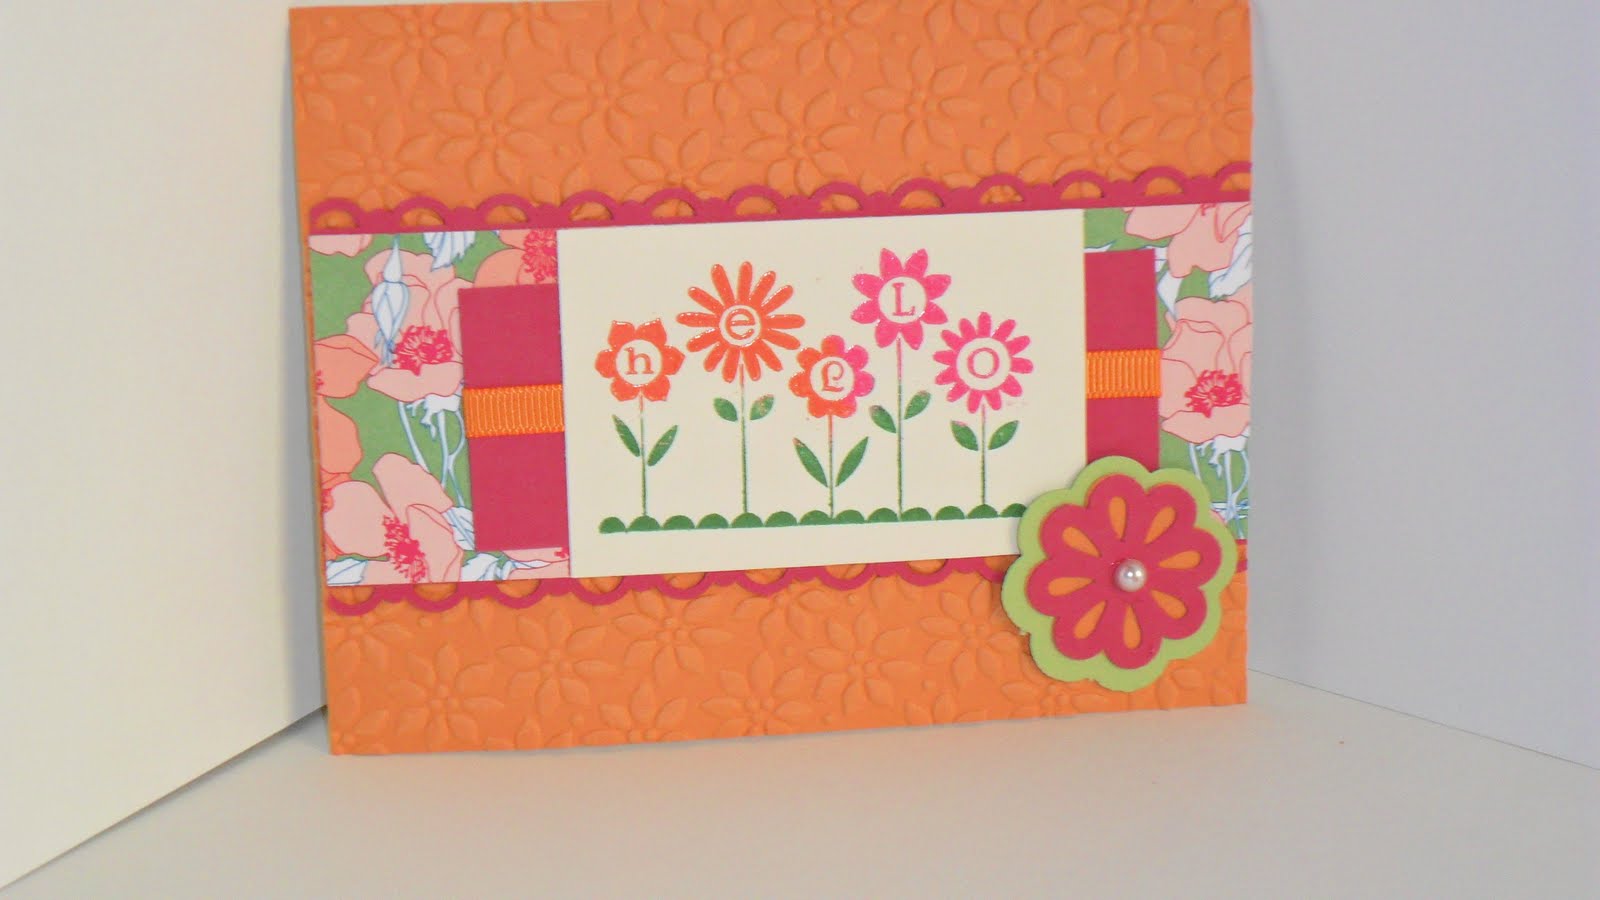
There's more going on this card than you would think at first glance and it's more than I would normally show. I wanted to feature the new embossing colors found on page 23 of the mini you can also find the dsp on the same page. The hello image is stamped with versamark and the colors are added with the embossing powders. The background is using the plenty of petals embossing folder and ran through the big shot. The punch is the new triple layer punch called the blossom bouquet and yes all 3 punches are in one punch! How cool is that?
Tuesday, June 14, 2011
A Free Stamp Set
Poppy Parade is such a bright and happy summer color. I used the level 2 hostess stamp set from the mini as well as the Happy Greetings stamp set. I used markers on the stamp set with a bit of a twist I misted the stamp before I stamped it onto the cardstock and then I stamped it again right away. I used the paper flowers and colored it with the aqua painter and the ink from the marker and added a rhinestone into the center. The green was pear pizzaz and was used in the same way as the flower and added to the large decorative lable with a finger dauber. I love a card that makes me smile don't you?
Saturday, June 11, 2011
Sand and Surf
The stamp set is summer splash and has wonderful images of summer. I love the different colors on the surf boards and it's easy to do just color with your markers with as many colors as you would like. After your done coloring don't forget to breath on your stamp before stamping your image. This will moisten the ink so you'll have even coloring. The sand was made with the crumb cake cardstock and sponged with early espresso ink.
Wednesday, June 8, 2011
Polished Stone
You need glossy paper a cotton ball and rubbing alcohol and reinker of your choice and to get that silver look use the pearlized silver fox accent ink. Douse your cotton ball in the rubbing alcohol and place 1 or 2 drops of a reinker and a drop or 2 of the accent ink and pounce onto the glossy cardstock. To keep the ink from your hands use a cloths pen for this process. You must allow this to dry and yes in MI it will depend on the weather as to how long it will take to dry. The marina mist card stock use the flower garden embossing folder and was rubbed with a cotton ball that had white craft ink on it. I like to use the black staz on ink for the butterfly image from the Strength and hope stamp set. I love this set since Stampin'Up! is giving $2 for each stamp set sold to the breast cancer reasearch foundation.
Subscribe to:
Posts (Atom)